Your First Toolbox: Which Leathercraft Tools You Need
A good first toolbox is small, and every tool in it gets used. The leathercraft tools you need for a first piece, what each one does, and the ones that can wait.
There is a temptation, when you discover a new craft, to buy every tool you see in a video. Leathercraft has a long list of beautiful, specialised tools, and some makers own drawers full of them. But the toolbox that gets you from a flat piece of leather to a finished card holder is small, and every tool in it earns its place. Choosing well at the start saves money, saves space, and, more importantly, lets you learn each tool properly before adding the next.
This article goes through the leathercraft tools you need for a first piece, stage by stage, explains what each one does in plain words, and lists the tools that can wait until you know you want them. It belongs to our guide on how to start leathercraft, which covers the whole path from your first tools to your first finished object.
Think in stages, not in tools
Every leather project, however simple, passes through the same stages: marking the shape, cutting it out, making holes, stitching, and finishing the edges. The easiest way to build a toolbox is to make sure you have one reliable way of doing each stage, rather than several tools for one stage and none for another. A beautiful set of stamping tools is no help if you have nothing to cut a straight line with.
Thinking in stages also makes it easier to compare a kit with buying tools separately. A kit gives you one tool per stage at once; buying separately lets you choose each one more precisely. Both are reasonable, and our comparison of a leathercraft kit vs separate tools goes through the trade-offs honestly. Whichever way you go, check that every stage is covered before your first project.
Finally, thinking in stages helps you notice what is missing when a project goes wrong. If your edges look rough, the gap is in finishing, not in stitching. If your seams wander, look at marking and holes before blaming the needle. Each stage below lists the essential tools first, then the ones that make the job easier.
Cutting and marking
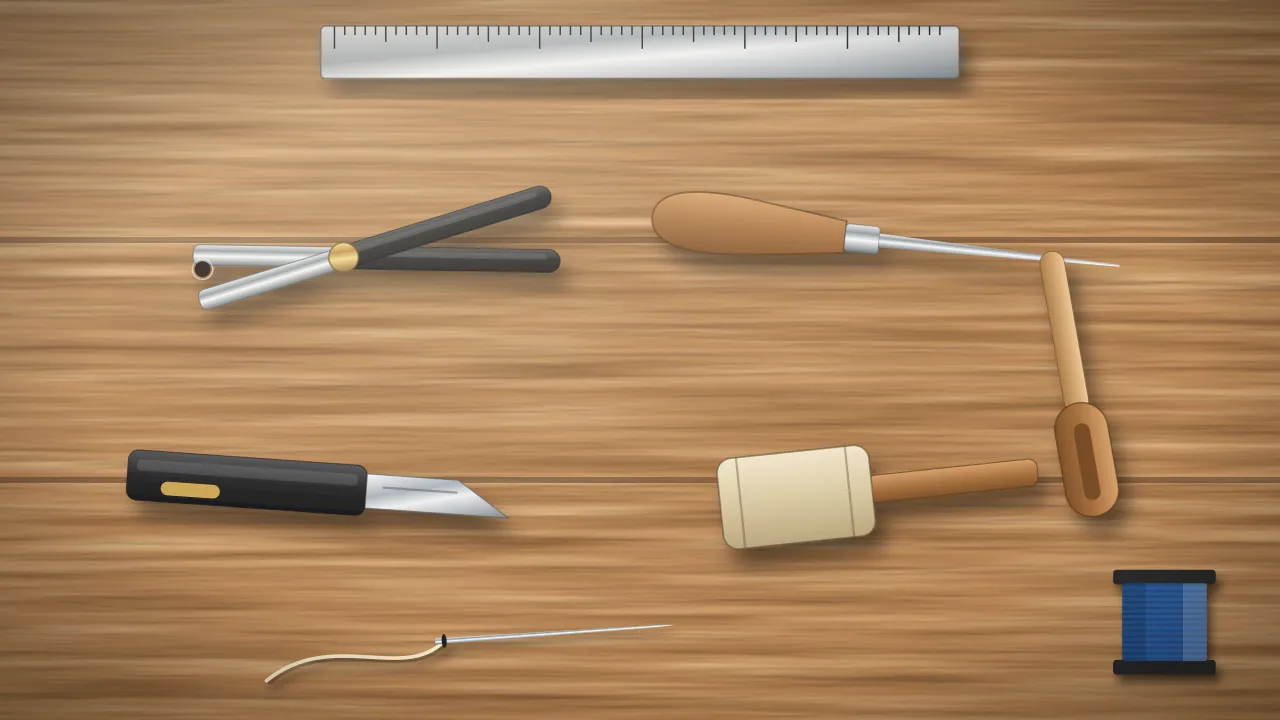
For cutting, you need a sharp blade, a straight edge and a surface to cut on. A good utility knife with replaceable blades is the most practical start: it is inexpensive, it is easy to keep sharp by changing the blade, and it follows a ruler well. A steel ruler, ideally with a cork or rubber back so it does not slide, guides straight cuts and keeps your fingers away from the blade. A self-healing cutting mat protects both the table and the blade.
For marking, you need a way to transfer a pattern and to draw a stitch line. A pencil or a silver marking pen works on the flesh side and on light leathers; a scratch awl leaves a fine line on the grain without ink. Wing dividers or an adjustable groover draw a line parallel to the edge, which is where your stitch holes will go. A scribing wheel, which rolls along that line and marks evenly spaced points, is a helpful extra for keeping stitches regular.
The more precisely you mark, the less you need to correct later. Take your time over the stitch line in particular: it decides where every hole goes, and the holes decide how straight the seam will look. A few minutes spent here is time saved on every following stage.
Making holes
Holes for stitching and hardware can be made in several ways, and the right choice depends on your space, your leather and how much noise you can make. Pricking irons and prong punches make several evenly spaced stitching holes at once; they are struck with a mallet on a hard, slightly yielding board, such as a polyethylene block or a dense rubber mat. An awl can make or open holes one at a time, which is slow but precise.
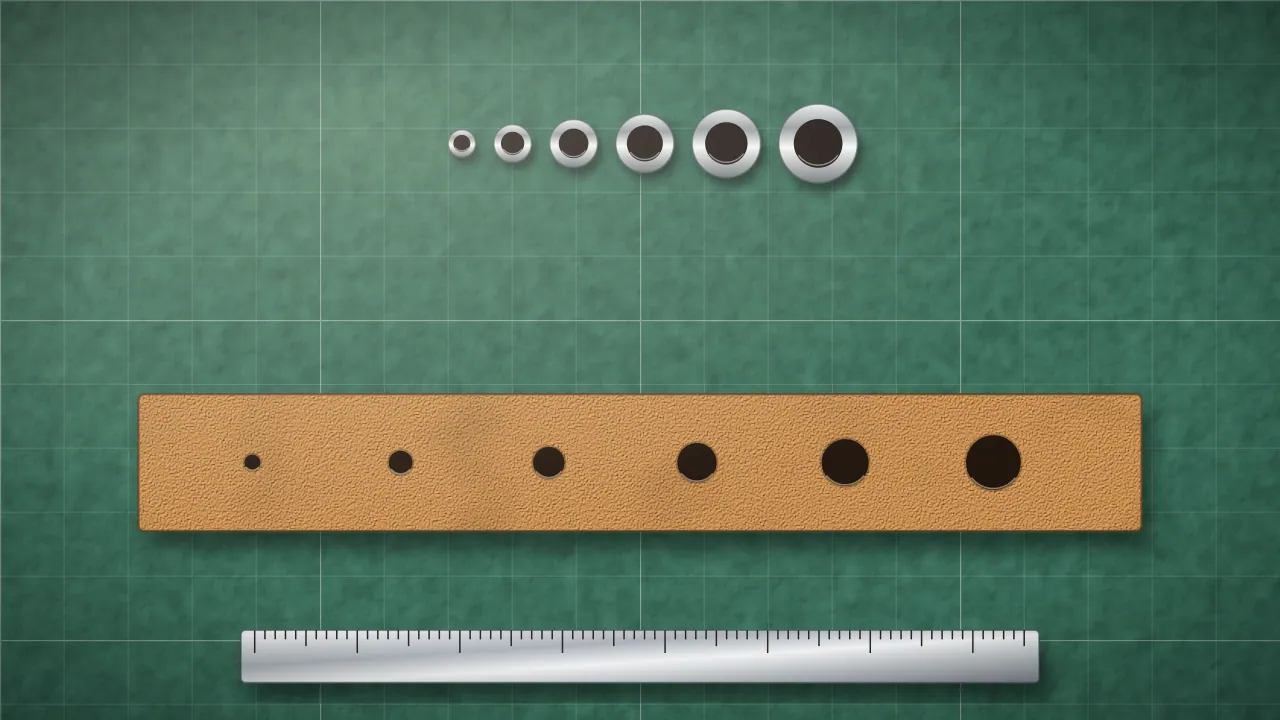
Round holes, for hardware, belts and round-hole stitching, are made with a hole punch. Drive punches are struck with a mallet; rotary punches squeeze like pliers near an edge; press punches cut when you push down on them. Press punches with interchangeable tips cover several sizes with one tool and are quiet to use, though they suit small goods and lighter straps better than very thick leather. The wider topic, including sizes and technique, is covered in how to punch holes in leather.
If you choose struck tools, the mallet matters more than people expect. A poly, rawhide or wooden mallet does not damage the tool's head the way a metal hammer does, and its weight lets you work with controlled blows rather than force. Whatever you strike on, keep a dedicated board for it, so you are not damaging your cutting mat or your table.
Stitching
Hand stitching needs very little: two blunt needles, a spool of waxed thread and a pair of scissors. The needles are blunt because the holes are already made; a sharp needle would catch and split the thread already in the hole. Harness needles with a rounded tip are the usual choice, and a few spares are useful because they are easy to lose on a busy bench.
Waxed polyester or waxed linen thread is the usual choice for hand stitching. Choose a thickness in proportion to your project, finer for small goods, thicker for belts. Many makers keep a small block of beeswax to add a little extra wax to thread that has become dry, though prewaxed thread usually needs nothing more. A thimble or finger cot protects the finger that pushes the needle when the leather is thick.
A stitching pony or clam, which holds the work upright while you sew, is a comfort rather than a necessity at first; many people start by holding the piece between their knees or clamping it with two strips of wood. If you enjoy stitching, it is often the first upgrade worth making. Our guide on hand stitching leather explains how each of these tools fits into the seam.
Edges and finishing, and the tools that can wait
To finish edges, start with fine sandpaper or a sanding stick to smooth the cut, then a wooden slicker or a piece of canvas to burnish it with a little water. That alone transforms the look of a piece. An edge beveller, which rounds the corners of the edge before sanding, is the next tool most people add, followed perhaps by a creaser for a decorative line along the edge.
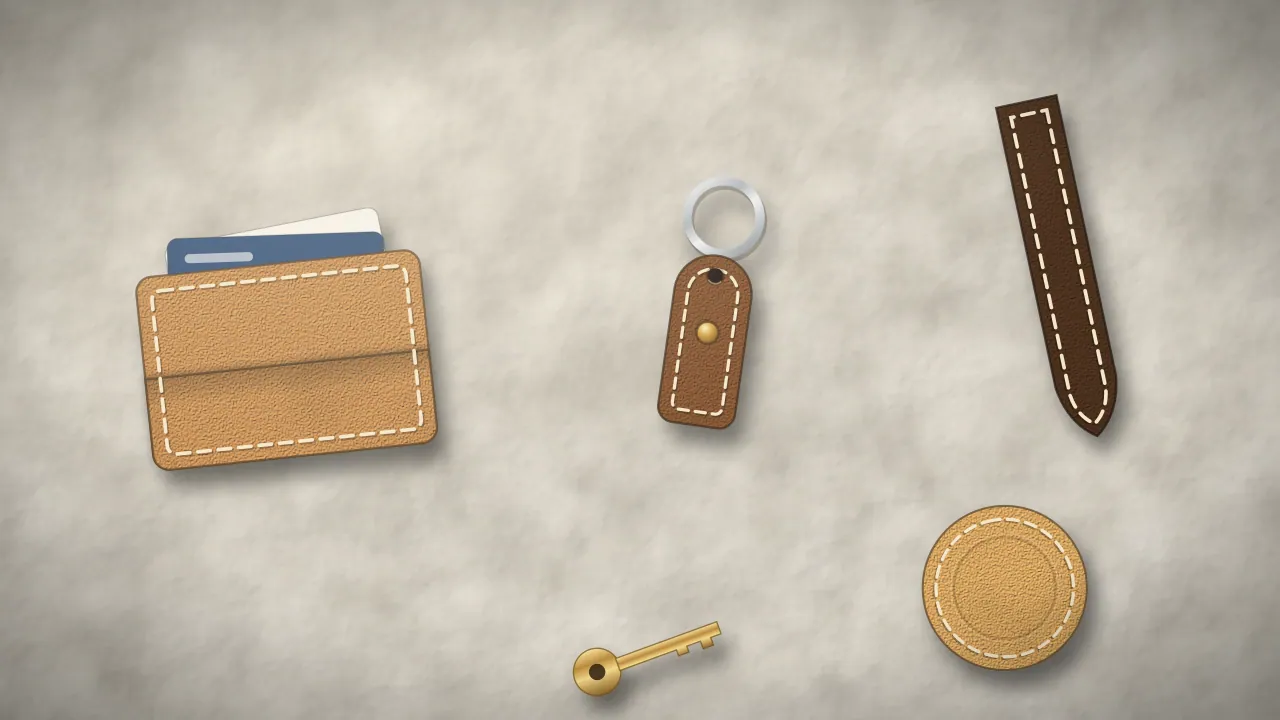
Plenty of tools can wait until you know what you enjoy: round knives and head knives, skiving tools, stamping and carving sets, swivel knives, stitching ponies, edge paint, dyes and finishes, and of course sewing machines. None of them is needed for a first card holder or key fob. Buy them when a project asks for them, and you will know exactly what you need and why.
Looking after the tools you have matters as much as choosing them. A sharp blade is safer and more precise than a dull one, and clean, dry tools last for years. Cleaning, sharpening and storing leathercraft tools explains the habits worth building, and what it really costs to start leathercraft helps you plan a budget that leaves room for leather, which is easy to forget.
Building a toolbox that grows with you
The leathercraft tools you need for a first piece fit in a small box: a knife, a ruler and a mat to cut; a way to mark lines; a way to make holes; needles, waxed thread and scissors to stitch; sandpaper and a slicker to finish. Everything else can come later, one tool at a time, as your projects call for it.
If you would rather start with one tool for each stage gathered together, our starter kit is one example, in a carry case with an ebook; leather and a mallet are not included. For a place to keep all of it, see setting up a leathercraft workspace at home.
Questions people ask
What are the basic tools for leathercraft?
A sharp knife, a steel ruler and a cutting mat for cutting; a pen, awl or dividers for marking; a hole punch, pricking irons or an awl for holes; two blunt needles, waxed thread and scissors for stitching; and sandpaper with a wooden slicker for the edges. These cover a first small project.
Do I need a mallet for leathercraft?
Only if you use struck tools such as pricking irons, prong punches, drive punches, rivet setters or stamping tools. A press-style or rotary hole punch cuts without one. If you buy struck tools, choose a poly, rawhide or wooden mallet rather than a metal hammer, which damages tool heads.
What knife should I use to cut leather?
A good utility knife with replaceable blades is a practical start: it is sharp, inexpensive and easy to keep sharp by changing the blade. Many makers later add a round knife or a head knife, which take practice and sharpening but allow long, smooth cuts and curves.
Which leathercraft tools can wait?
Stamping and carving tools, swivel knives, skiving tools, round knives, stitching ponies, edge paints, dyes, finishes and sewing machines can all wait until a project calls for them. Buying them later means you will know exactly what you need and why.
Is a cheap leathercraft tool set worth it?
It can be, if it covers each stage and the cutting tools are sharp or easy to sharpen. Check what a set includes and leaves out, such as leather, a mallet or a cutting mat, and replace any tool that does not work well. A set is a way to start, not a final toolbox.