What to Make First: Leather Projects That Teach You the Craft
The first piece you finish is the one you remember. First leather projects in a sensible order, from a key fob to a wallet, with what each one teaches.
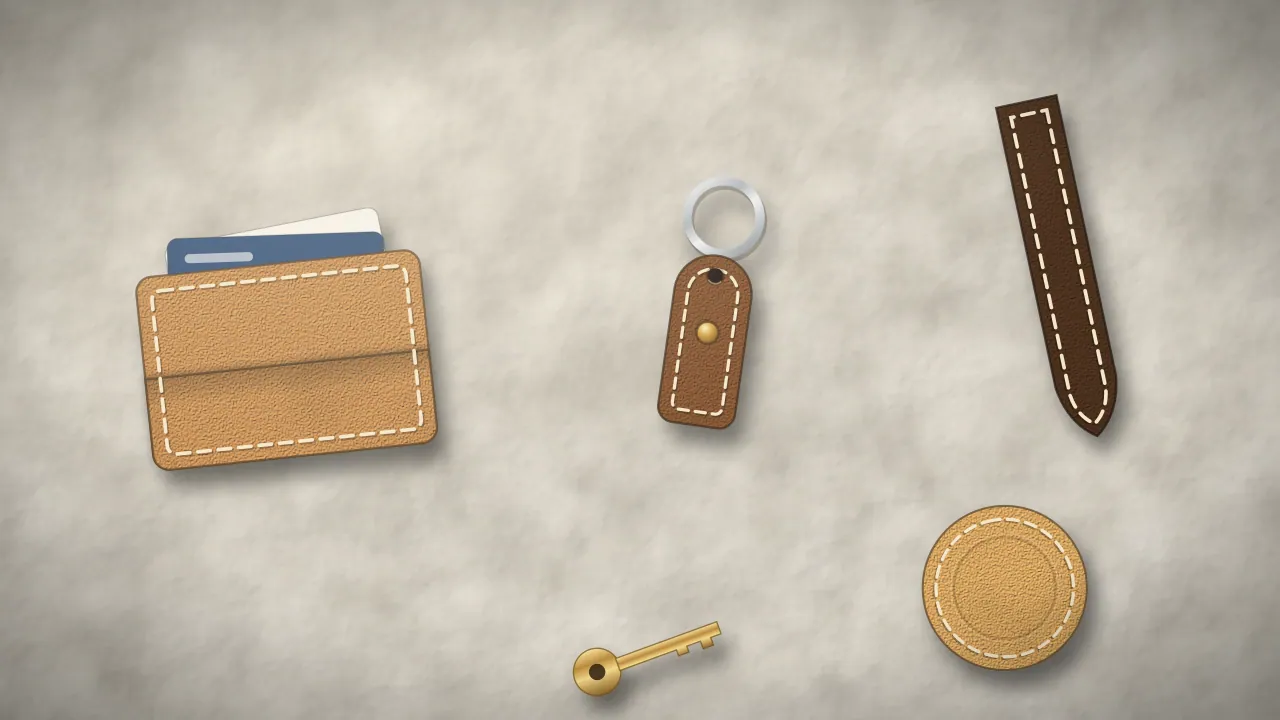
Most people remember the first leather piece they finished: a slightly uneven key fob that still hangs on their keys, a card holder whose stitches wander a little near one corner, a bookmark given to someone who still uses it. These first leather projects matter less for how they look than for what they teach, and for the confidence of having taken an idea all the way to an object. The trick is to choose pieces that teach one new thing at a time, so that each project builds on the previous one instead of piling up every difficulty at once. This guide suggests an order, from pieces with no seam at all to a full wallet, explains what each one teaches, and links to a detailed project article for each piece as it comes out.
Why the first project matters less than the second
Your first piece will show you everything you have not practised yet: where your knife drifted, where you pressed the punch at an angle, where the thread tension changed. That is its purpose. The second piece, made with those lessons fresh in mind, is usually where people see the progress that keeps them going. So it makes sense to choose a first project that is small, cheap in leather and quick to finish, so you can make it twice in the same week.
A good first project also uses each stage of the craft lightly: a little cutting, a few holes, a short seam or none, an edge to finish. You will learn more from three small pieces finished from start to end than from one ambitious piece abandoned halfway. Choose leather you can afford to experiment with, such as offcuts of vegetable-tanned leather between 1 and 2 mm, and keep your first pieces simple in shape, with straight lines and gentle corners. If you are still gathering tools and materials, how to start leathercraft walks through what you need before your first cut.
Pieces with no seam, or a single one
Some of the most satisfying first pieces need no stitching at all, which lets you focus on cutting cleanly and finishing edges. A key fob is a strip of leather folded around a ring and closed with a rivet or a few stitches; it fits in your pocket and is used every day, which makes it a lovely first object. How to make a leather key fob shows a version that needs only a handful of holes. A bookmark is even simpler, a flat strip with a finished edge and perhaps a stamped initial, and it makes an easy gift for a reader; see how to make a leather bookmark.
Coasters teach you to cut regular shapes and to finish a whole perimeter evenly, since every edge shows; how to make leather coasters covers cutting circles and squares, edges and finishes that stand up to a damp glass. A simple bracelet adds a closure, a snap or a buckle, and a first encounter with hardware and fitting something to a body; how to make a leather bracelet explains how to measure a wrist and choose a closure. Each of these pieces can be made in an evening, which is exactly what you want at this stage.
Use these small pieces to try things you are unsure about. Cut one coaster with a utility knife and one with a round knife and see which feels steadier. Finish one key fob edge with water alone and another with a burnishing compound. Try a dye on a bookmark before you use it on something larger. Mistakes on a piece that took an evening and a scrap of leather cost almost nothing, and they teach you exactly what you need to know before a project that takes a week.
The first stitched piece: a card holder
When you are ready to stitch, a card holder is the classic choice, and for good reasons. It is small, so the seams are short; it is flat, so the layers stay aligned; and it is useful every day. It brings together everything that matters in hand stitching: marking a stitch line, making evenly spaced holes, saddle stitching two layers, and finishing an edge where several layers meet. How to make a leather card holder gives a pattern based on the standard size of a bank card, with the allowance a pocket needs.
A cable organiser, the small strap that keeps a phone cable or earphones tidy, is another good early stitched piece: one short seam, a snap, and a shape that forgives small irregularities; see leather cable organizers. Both pieces are where you will notice how much the holes decide the look of a seam, so take your time over them; our guide on hand stitching leather explains each stage of the seam, and a press punch makes round stitching holes quietly if you prefer not to use a mallet.
Pieces with shape, length or hardware
Once a flat piece feels comfortable, try pieces that add one new challenge each. A belt is mostly cutting and finishing on a long strip, plus a row of holes and a buckle; it teaches you to keep a straight line over a long distance and to finish long edges evenly. How to make a leather belt covers choosing the leather, cutting the strap and fitting the buckle. A watch strap is the opposite: tiny, precise and fitted to a specific watch, which makes it a test of patience; see how to make a leather watch strap.
A glasses case introduces a shape that has to hold something and protect it, which means thinking about the inside as well as the outside; making a leather glasses case explains how to size it and choose between a soft and a firm version. A notebook cover adds folding and pockets, and lets you see how leather behaves when it bends many times; how to make a leather notebook cover shows a simple design that slips over a standard notebook. Each of these projects teaches something new without asking you to master everything at once.
Take measurements from the real thing whenever you can. A belt sized from the wearer's current belt, a strap sized from the watch it will hold, a case sized from the glasses it will protect: the object is always more reliable than a chart. Make a paper or card mock-up before cutting leather for anything that has to fit, fold it, try it, adjust it, and only then trace it onto the hide.
A wallet, and making for other people
A simple bifold wallet is often the project people have in mind when they start, and it is a fine goal for after the first few pieces. It combines several pockets, layers that must line up exactly, longer seams and edges where up to four layers meet. Made too early, it can be discouraging; made after a card holder or two, it is deeply satisfying. A simple bifold in leather breaks it down into stages you will already recognise.
Many people soon find themselves making for others: a birthday, a wedding, a colleague leaving. Handmade leather gift ideas suggests pieces that suit a gift and can be personalised. Sooner or later, someone may ask to buy one of your pieces; pricing handmade leather goods explains how to count your materials and time honestly. And whether you sell, share or simply keep a record of your progress, good photographs help; see photographing leather pieces well.
Where to go from here
Start small, finish what you start, and make each new piece add one new skill: a seam, then layers, then hardware, then a shape. Keep your early pieces even when they are imperfect; looking back at them a few months later is the most honest measure of your progress.
If you would rather have the tools for these projects together, our starter kit gathers a tool for each stage in one case with an ebook; leather and a mallet are not included. For the finishing touches that make any of these pieces look complete, read finishing leather edges and surfaces, and for the material itself, how to choose leather for your projects.
Questions people ask
What is the easiest leather project to start with?
A key fob or a bookmark is about as simple as leatherwork gets: a strip of leather, a clean cut, finished edges and, for the key fob, a ring held by a rivet or a few stitches. Both can be made in an evening with a few tools, and both are useful enough to keep or give.
Should my first project be a wallet?
You can, but many people find a wallet easier after one or two smaller stitched pieces. A wallet combines several pockets, layers that must line up and long seams. Making a card holder first teaches the same skills on a smaller scale, so the wallet goes more smoothly afterwards.
How much leather do I need for a first project?
Very little. A key fob, a bookmark or a card holder can be cut from offcuts the size of your hand. Scrap bags and small panels from leather suppliers are an inexpensive way to get enough leather for several first pieces, in different colours and thicknesses.
What tools do I need to make a card holder?
A sharp knife, a steel ruler and a cutting mat to cut; a way to mark the stitch line; a punch, pricking iron or awl to make holes; two blunt needles and waxed thread to stitch; and sandpaper with a wooden slicker to finish the edges. A pattern sized from a bank card helps.
How long does a first leather project take?
A key fob, bookmark or coaster can be finished in an evening. A first card holder often takes a few sessions, because cutting, making holes, stitching and finishing are each new. The time drops quickly as each step becomes familiar.