Making Things in Leather by Hand: How to Start Leathercraft
There is a quiet pride in carrying something you made. How leathercraft really begins: the first tools, the first leather, the first stitches, and what to expect.
There is a particular feeling the first time you pull a stitch tight in a piece of leather and see it sit exactly where you wanted it. The material is warm, it smells of wood and earth, and it remembers what your hands did to it. People come to leathercraft for many reasons: a wallet they want to make instead of buy, a strap that needs mending, a gift with their own work in it, or simply the wish to spend an evening making something real. Whatever brings you here, the good news is that learning how to start leathercraft is less about talent than about a few honest habits, a small set of tools and some patience with your first pieces. This guide walks through the whole path, from the bench to the finished object, and points to the deeper articles on each part as they come out.
What leathercraft asks of you, and what it gives back
Leathercraft does not ask for a workshop, expensive machines or years of training before you can make something useful. It asks for a flat table, good light, a few tools and the willingness to work slowly. Most of the craft is made of simple actions repeated with care: measuring, cutting along a line, making holes in a row, pulling thread through them, smoothing an edge. None of these actions is difficult on its own. What takes time is making them clean and regular, and that comes from repetition rather than from a gift.
What it gives back is harder to put into numbers. There is the calm of a task that holds your attention without rushing you. There is the satisfaction of a seam that lines up. And there is the object itself, which you will use, wear or give away, and which will age with the person who carries it. If you are wondering how long it takes before your pieces look the way you hope, the honest answer depends on how often you practise; we look at it in detail in how long leathercraft takes to learn. And if you are still deciding whether this is a hobby for you, leathercraft as a slow hobby describes what a typical evening at the bench actually looks like.
The handful of tools you need first
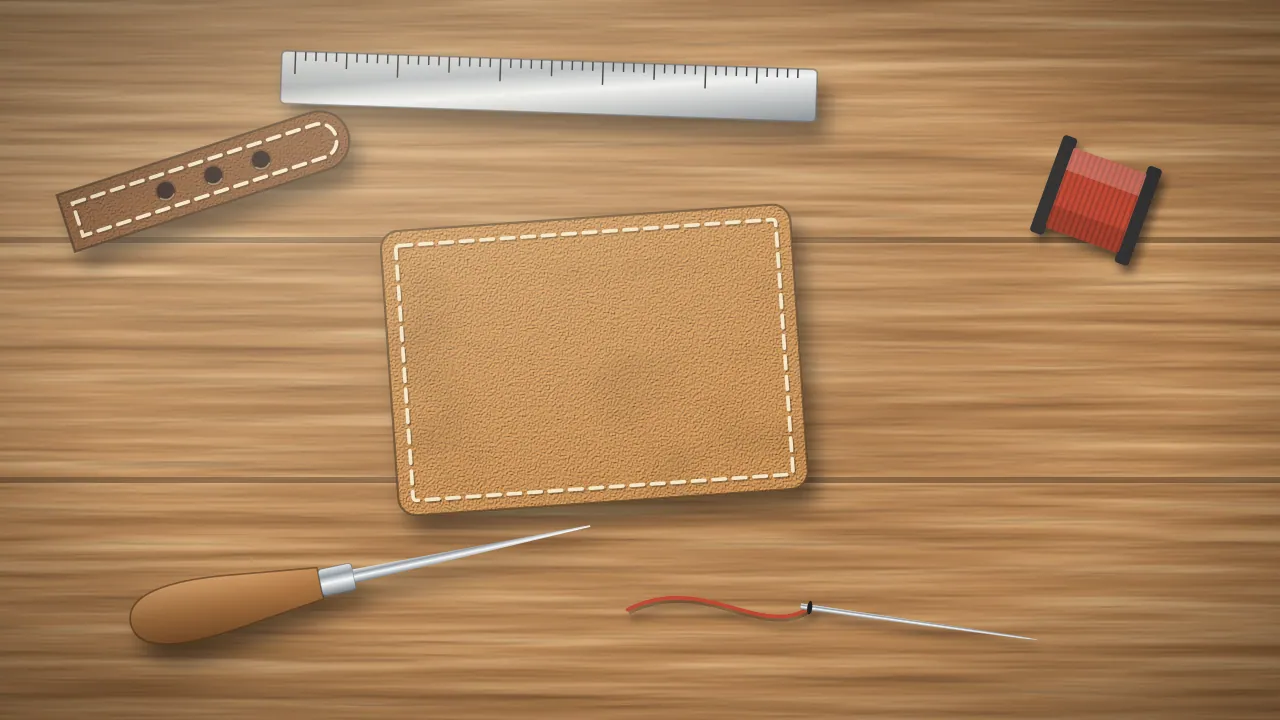
Every leather project, from a key fob to a bag, passes through the same stages: marking, cutting, punching holes, stitching and finishing the edges. You need one way of doing each, not a drawer full of specialised tools. A sharp knife with a steel ruler and a cutting mat covers cutting. A scribing wheel, a pair of dividers or simply an awl covers marking. For the holes, you can use pricking irons or prong punches struck with a mallet, or a round hole punch that you press. For stitching, two blunt needles and a spool of waxed thread are enough. For the edges, a piece of fine sandpaper and a wooden slicker will take you a long way.
The full list, with what each tool does and which ones can wait, is in which leathercraft tools you need. If you are hesitating between buying a set and choosing every tool yourself, leathercraft kit vs separate tools compares the two honestly, including what a kit usually leaves out. Whatever you choose, check two things: whether leather is included, which in most sets it is not, and whether the punches are struck, which means you also need a mallet, or pressed, which means you do not. And for a realistic idea of the budget, read what it really costs to start leathercraft.
Choosing the leather for your first pieces
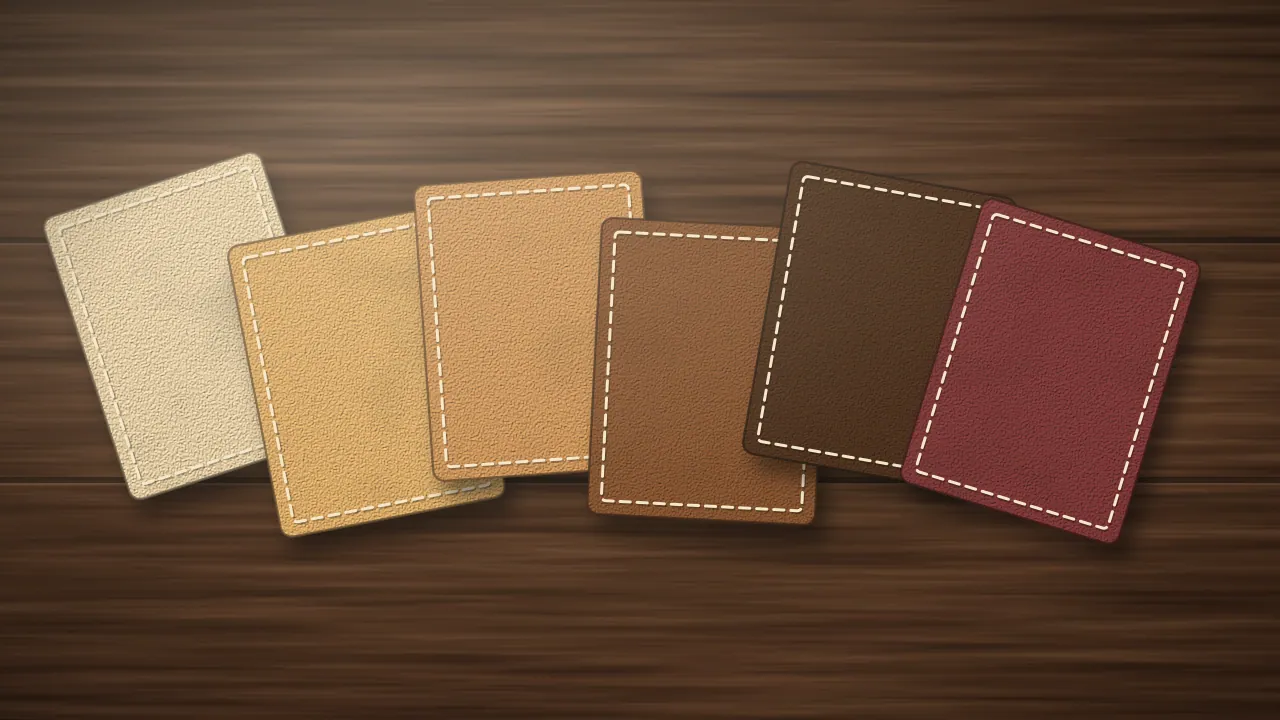
Leather is not one material. A hide can be tanned with plant tannins or with mineral salts, split to different thicknesses, finished with a smooth grain or a waxy pull-up surface. For a first small project, a common suggestion is vegetable-tanned leather around 1 to 2 mm thick: it is firm enough to cut cleanly, it holds the shape of stitch holes, it takes a burnished edge, and it darkens beautifully with use. Softer chrome-tanned leathers are lovely in finished goods but are harder to keep straight when you are learning to cut and stitch.
You do not need a whole hide to begin. Offcuts, scrap bags and small panels sold by leather suppliers are enough for card holders, key fobs and bookmarks, and they let you try different leathers without committing to one. When a supplier's description uses words you do not recognise, such as "full grain", "temper" or "ounces", our leathercraft glossary explains them in plain words. The broader question of how to choose, with tannage, grades and thickness side by side, has its own guide: how to choose leather for your projects.
From pattern to finished piece
A first project usually follows the same sequence, and understanding it once makes every later project easier. You start with a pattern, either bought, downloaded or drawn yourself; how to read and use a leather pattern explains the marks you will find on one, and making leather templates from card shows how to turn a pattern into a sturdy template you can trace around many times. You then transfer the shape to the leather, cut it with a sharp blade held upright, and mark a stitch line a few millimetres from the edge.
Next come the holes, evenly spaced along that line. This is where many first pieces gain or lose their neatness, which is why we gave the subject a guide of its own: how to punch holes in leather. Then the stitching: the saddle stitch, made with two needles on one thread, is the classic hand seam, and a guide to hand stitching leather takes you through it. Finally the edges are sanded, smoothed and polished, which is covered in finishing leather edges and surfaces. If you would like a list of first objects ordered by what each one teaches, start with leather projects that teach you the craft.
A good place to work, safe habits and useful mistakes
You can work at a kitchen table, but you will enjoy the craft more with a corner you do not have to clear away every evening. Good light from the side, a stable surface at the right height, a cutting mat and a hard board for punching make a real difference to the result; setting up a leathercraft workspace at home goes through the details. Safety is mostly a matter of habits: cutting away from your body, keeping blades covered when they are not in use, working with dyes and glues in a ventilated room. Leathercraft safety for blades, awls and dyes lists the habits worth building from the first day.
Your first pieces will have flaws, and that is how it should be. A wobbly line, a stitch hole slightly out of place or a glue stain teaches more than a perfect tutorial. Most of these flaws are common and easy to correct once you know their cause, which is why we collected them in common leathercraft mistakes. Short exercises on scraps, such as cutting straight strips or stitching a seam on two offcuts, build the gestures before you spend good leather on a project; see practice exercises on leather scraps. And tools that are wiped, sharpened and stored dry stay pleasant to use for years, as explained in cleaning, sharpening and storing leathercraft tools.
Where to go from here
Starting leathercraft comes down to a short list: a few tools that cover each stage, a piece of vegetable-tanned leather, a simple pattern and an unhurried evening. Make one small object from start to finish before you buy anything else; it will tell you which tools you reach for and which ones you need next. Then make it again, a little better.
If you are reading this because you would like to give someone the means to begin, choosing a leathercraft set as a gift explains what to look for, and our own starter kit lists every piece on its page if you want to see one example. And whenever you are ready for the next step, each guide linked above goes deeper into one part of the work. The first stitch is the hardest one to start; after that, the piece starts to become yours.
Questions people ask
Is leathercraft hard to learn?
The individual actions are simple: cutting along a line, making holes, stitching, smoothing an edge. What takes time is doing them cleanly and evenly. Most people can finish a small, usable piece in their first sessions; neat, regular work comes with practice, and how quickly depends on how often you work.
Do I need a mallet to start leathercraft?
It depends on the tools you choose. Pricking irons, prong punches, rivet setters and stamping tools are struck, so they need a mallet and a hard surface. A press-style hole punch cuts by pressing instead. Many makers end up with both, but you can begin with either.
What leather should I use for my first project?
Vegetable-tanned leather around 1 to 2 mm thick is a common choice for small first pieces such as card holders or key fobs. It cuts cleanly, holds stitch holes well, takes a polished edge and develops a patina. Offcuts and scrap bags are an inexpensive way to try a few kinds.
How much space do I need for leathercraft?
A stable table with good light is enough to start. Add a cutting mat to protect the table and your blades, and a hard board for punching. A dedicated corner you do not have to tidy away every time is a comfort rather than a necessity, and it helps you come back to the work more often.
Should I start with a kit or buy tools one by one?
Both work. A kit gives you a tool for each stage at once and keeps everything together, which is convenient; buying separately lets you choose each tool precisely, often after trying a first project. Check what a kit includes and what it leaves out, such as leather or a mallet, before choosing.