Two Needles, One Thread: How to Saddle Stitch Leather
There is a calm rhythm to a saddle stitch once your hands find it. How to saddle stitch leather, from threading the needles to locking the last stitch.
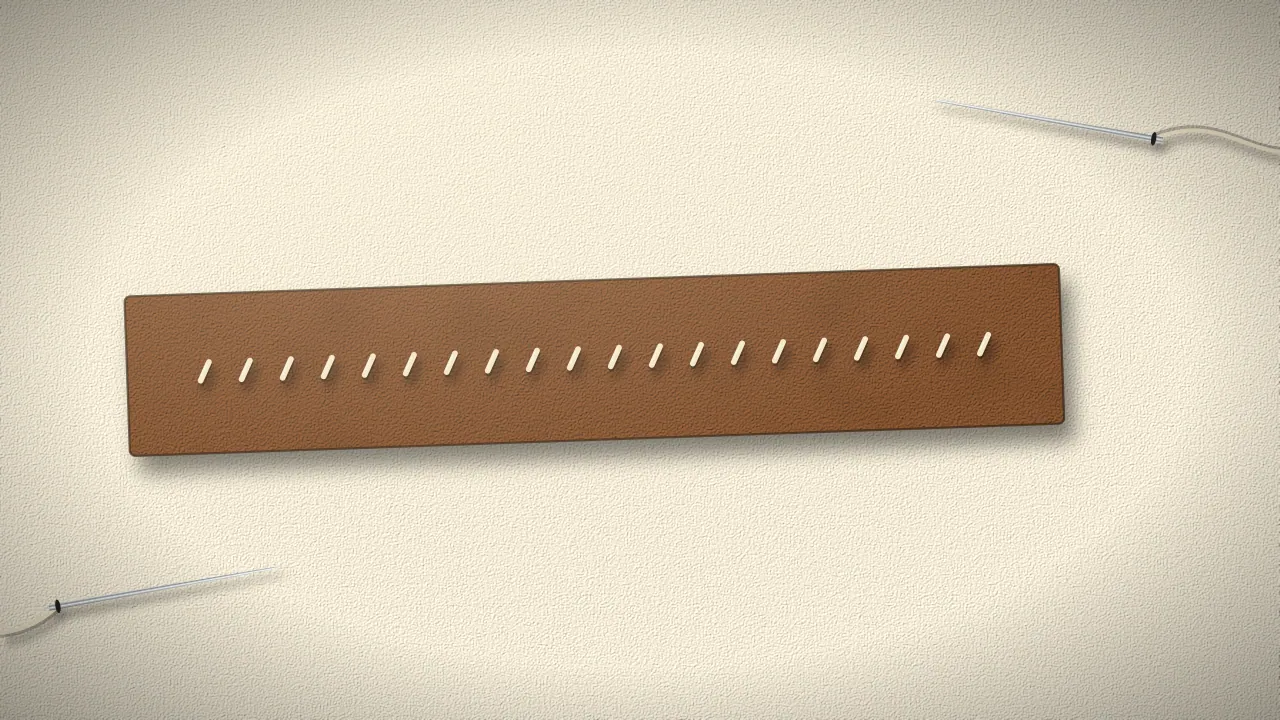
Ask someone who stitches leather by hand what they enjoy most about it and many will mention the rhythm. Needle through, second needle through, pull, move on: after a dozen holes the movements settle into a pattern, your attention narrows to the seam, and the row of slanted stitches grows steadily along the edge. The saddle stitch is the classic hand seam for leather, and it is easier to learn than it looks. What it asks for is consistency, the same order and the same tension at every hole, rather than any special dexterity.
This article explains how to saddle stitch leather, from cutting and threading the thread to starting, stitching and locking the end of the seam. It assumes your stitching holes are already made, and it belongs to our guide on hand stitching leather, which covers the holes, thread and tools that come before the seam.
What makes a saddle stitch different
A saddle stitch uses one length of thread with a needle on each end. Both needles pass through every hole, from opposite sides, so each hole holds two passes of thread and each stitch is locked by its neighbour. On the face of the leather, the stitches lie in a neat row, usually with a slight slant that comes from the shape of the holes and the order in which the needles pass.
This structure explains why the saddle stitch has long been used where seams have to last. A single machine thread forms loops that interlock with a second thread hidden inside the material; if that thread is cut, the seam can pull open along its length. In a saddle stitch, a broken stitch generally stays an isolated break, because the threads on either side remain held in their holes. That is not a promise of indestructibility, since thread, spacing and edge distance all matter, but it is why many makers prefer it.
The other difference is that it is made entirely by hand, one stitch at a time. That makes it slow compared with a machine, but it also means you can stop at any hole, take a break and pick up exactly where you left off, and it works on any thickness of leather you can make holes in.
Preparing the thread and the needles
Start by cutting enough thread. A common rule of thumb is about four times the length of the seam, plus a little extra for threading each needle; our article on how much thread to cut explains the reasoning and when to adjust it for thick leather or long seams. Running short mid-seam is fixable but fiddly, so err on the generous side for your first seams.
Thread a blunt needle onto each end. Leather stitching needles are blunt because the holes are already made, and a sharp point would catch the thread already in the hole; see needles for hand stitching leather for the details. Many makers lock the thread onto the needle so it cannot slip out of the eye: pass a few centimetres of thread through the eye, pierce the short tail with the needle point once or twice, and pull the tail back down over the eye. Waxed thread holds this lock well.
Check that the thread is evenly waxed and not twisted. If it feels dry or fluffy, run it over a block of beeswax a couple of times. Then settle the work: a stitching pony or clam holding the piece upright, with the stitch line facing you, frees both hands. Stitching pony or clam explains the options, including simple alternatives if you do not have one yet.
Starting the seam
Begin at the first hole of the seam, or a few holes in from the end if you plan to backstitch at the start as well. Pass one needle through the first hole and pull the thread until the two ends are equal, so you have a needle hanging on each side of the leather with the same length of thread. Equal lengths mean both needles run out at the same time, which makes the end of the seam simpler.
Some makers prefer to start with a couple of backstitches, sewing forward a few holes, then back to the start, then forward again, so the beginning of the seam is locked twice. Others start simply at the first hole and rely on backstitching at the end. Both work; what matters is that the first stitches are pulled firmly so the thread does not slip back through. Our article on starting and finishing a saddle stitch compares the common methods.
Before you go further, decide which needle goes first at every hole, for example always the needle on the side facing you. Keeping this order through the whole seam is the single most important habit for even stitches. Changing it halfway, even once, changes the way the stitches sit.
The stitch itself, hole by hole
At each new hole, pass the first needle through from its side. Then pass the second needle through the same hole from the other side. As it goes through, the second needle has to pass on a consistent side of the thread already in the hole, for example always behind it or always below it. Many makers gently pull the first thread to one side, or form a small loop with it, so the second needle cannot pierce it by accident.
Once both needles are through, pull both threads outwards at the same time, with the same tension, so the stitch settles into the hole and the groove. Do not pull so hard that the thread cuts into the grain or puckers thin leather, and do not leave it so loose that the stitch sits above the surface. With a little practice your hands find a tension that feels the same every time, and that sameness is what makes a seam look regular.
The slant of the stitches comes from the shape of the holes and the order of the needles. If some stitches lean differently from others, it is usually because the order or the side of passing changed at those holes. Our article on why saddle stitches lean explains how to read the slant and make it even. For corners, curves and several layers, the same stitch applies with a few extra precautions, covered elsewhere in this guide.
Locking the end and checking the seam
When you reach the last hole, reverse direction and stitch back through two or three holes, following the same order of needles. These backstitches lock the end of the seam with the thread's own tension. Finish with both needles on the back of the work if possible, where the ends will be least visible.
Trim the threads close to the leather. With polyester thread, many makers carefully melt the trimmed ends with a small flame so they fuse and flatten; do this gently, away from the grain, and never near solvents or glue. With linen thread, a dab of glue or simply pressing the waxed end into the hole works. Then tap the seam lightly with a mallet or roll it with a smooth tool to settle the stitches into the groove.
Look at the seam in good light. Even stitches, an even slant and no frayed thread mean the order and tension held. If one stitch looks different, note where it is: it is usually where you stopped, changed position or changed the side of passing, and remembering that is how the next seam improves.
Practising until it feels natural
Learning how to saddle stitch is mostly learning to repeat the same small sequence exactly: first needle, second needle on the same side, pull both evenly, move on. Practise on two offcuts with a short straight seam before your first real piece, then try a longer one. Within a few seams, the rhythm starts to carry your hands.
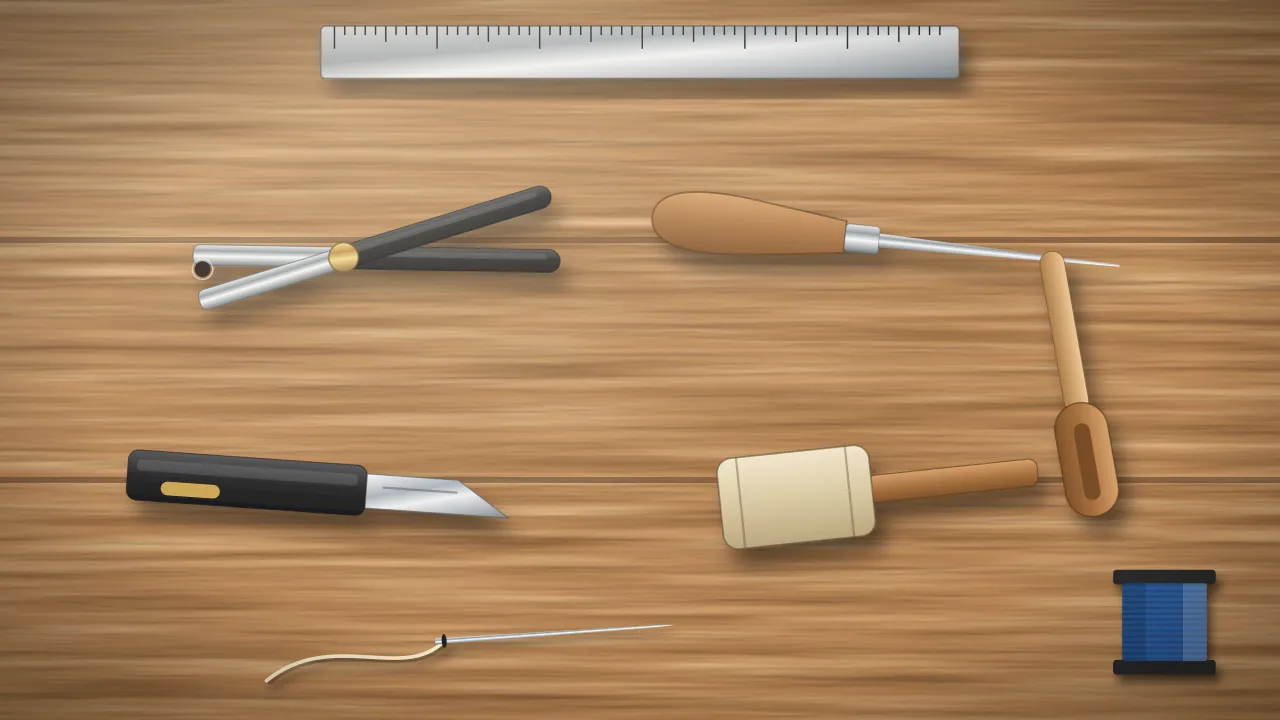
If you are gathering what you need, our starter kit includes three spools of waxed thread, seven needles, an awl, a finger cot and prong punches for the holes; a mallet for the prong punches is not included. And for the thread itself, see choosing thread for leather.
Häufige Fragen
Is the saddle stitch hard to learn?
Not really. The movements are simple: two needles through the same hole from opposite sides, then pull. What takes practice is keeping the same order and tension at every hole. Most people stitch a reasonably neat seam within their first few attempts on scraps, and it improves quickly.
How long should my thread be for a saddle stitch?
A common rule of thumb is about four times the length of the seam, plus some extra for threading the needles. Thick leather, several layers or larger stitch spacing use more thread, so add a margin. Running short is fixable, but starting with enough is easier.
Why do my saddle stitches look uneven?
Usually because the order of the needles or the side on which the second needle passes the first thread changed at some holes, or because the tension varied. Uneven hole spacing also shows in the stitches. Keep one order, one side and one pull for the whole seam.
How do I finish a saddle stitch without a knot?
Stitch back over the last two or three holes in the same pattern, so the thread is locked by its own tension. Then trim the ends close. With polyester thread, many makers carefully melt the trimmed ends so they fuse; with linen, a touch of glue holds them.
Can I saddle stitch with one needle?
You can imitate it by passing one needle along the seam and back again, but a true saddle stitch uses two needles on one thread, both passing through every hole from opposite sides. That is what locks each stitch and keeps the seam from running if one stitch breaks.